Showing posts with label quilt. Show all posts

Tuesday, January 13, 2015

Welp, the holidays are over and the rhythms of real life are taking over again...  I'm grateful for the return to routine, actually.  Maybe it's age, maybe it's life changes.  But I'm ready for routine!!

The holidays begat some personal projects.  Personal projects for me usually mean quilts and working from my personal stash of recycled cotton shirts.  Here is the fruit of my labors:

Mapping out a schedule for regular pattern releases for the coming year.  Any requests?  More fabric flowers?  More quilted handbags?  More home decor accessories?  Whadday'all feel like sewing?

Thursday, May 8, 2014

The Quilt's Got Back!

So I just finished a rather laaaaarge quilt top, and decided on this yummy print for the backing:


'Sinister Swarm' from the Field Study collection by Anna Maria Horner for Free Spirit

Since this is regular width (40-42'' wide) quilting fabric, and my quilt is much wider than that,  I needed to piece the back.

And, of course I wanted those ginormous butterflies to  match up nice and neat when I pieced the backing.  Here's how I did it and you can too:

First off, buy extra fabric.  I knew that the butterfly pattern repeat was going to be big, so I bought an extra ½ yard more than I normally would for a backing.

Wash and dry your fabric.  I like to air dry my fabric so the edges don't get all gnarly.

Fabric drying on the pool deck.  My friend Michele calls it 'patio candy'  :)

Cut one length of fabric the length of your quilt top, plus about 4 inches extra on the top and bottom. For example, if your quilt top is 75'' long, cut your fabric piece 83'' long.  Use your rotary cutter and ruler to neatly cut off one the selvage edges.  Iron that cut edge under ½''.  Set aside.

Lay remaining piece out on a flat surface. I recently started using our sadly neglected pingpong table for this purpose.  No more crawling around on the floor!!

Now lay your first piece of fabric next to the first one, matching the design on the folded under edge to the design on the second piece of fabric nearest to it's edge.  Use pins to hold this edge in place about an inch or so away from folded edge.

(You may have realized by now that your seam allowance will be ½'' on your pieced fabric.  That may be larger than you are used to, but the extra width will give you extra 'ground' for gluing in the next step.  And then later when you press the seam allowance open, the extra surface will make that step a bit easier too.)

Use a washable glue stick, (yep, just steal one from your kiddos- doesn't have to be a special quilting kind.  In fact, the cheaper the better for this use) and glue that seam down to the second piece of fabric.  Do a few inches at a time and take your time to match up the designs before sticking it down.  Use plenty o' glue- this seam is about to get man-handled in the next few steps, so make sure it's stuck down but good.  The glue stick will wash out later anyways.  The pins you used in the previous step should hold everything in place for you.  Let glue stick dry thoroughly.


Glue folded under edge fabric (left) to match pattern on first length of backing.

Now remove all the pins and fold back seamed side.

Replace pins, now perpendicular to seam.  I pin every 2 inches or so, just in case.

Take the backing to your sewing machine, and sew a seam directly on top of the fold line.

Fold fabric back and sew directly on pressed line.  Cinchy.

Use your rotary cutter to trim bottom layer of fabric even with top seam.

Now pry the seam open.  The cheap, washable glue stick is kind of brittle when dry, so it shouldn't be too difficult to separate.  Iron the seam open.


Trim larger side even with smaller side of fabric.

Trim with rotary cutter.

If your quilt is gargantuan like mine was, add another panel of fabric using the same method.

Et voila, perfectly matched seams!

Seam- all but invisible- can you find it?

Ps, you can use this method for other stuff too when you need to match patterns, like for making wide curtains or upholstery projects like headboards.  Handy, non?

Monday, June 20, 2011

Show-n-Tell Monday

So today is Show-n-Tell Monday.  Ok, I just made that up.  But I do want to show-n-tell the quilt I just finished.
I used a variation on the Red Diamonds Quilt, found in 'Passionate Patchwork' by Kaffe Fasset.  One border was eliminated and I also made the quilt in a sofa size instead of the humongous one in the book.
As I was binding this in my Modern Quilt Guild sew day, lots of people asked me how I kept the diamonds from stretching as I sewed.  The answer: spray starch BEFORE cutting the fabric.  Plus, these diamonds have 2 straight edges.  That definitely helps.
This quilt is going to a dear friend of mine starting a new phase in her life.  I wanted it to be joyous looking, and also to be in colors she would look great in.  Truthfully, she looks great in anything, but you get the idea...


So here is one of my kitties, Shu-Shu.  Poor thing, she thought the quilt was for her.  Of course, she thinks that just by sitting on something, she can claim it for herself...

Quilting was done in a continuous 1/4" outline with variegated thread.

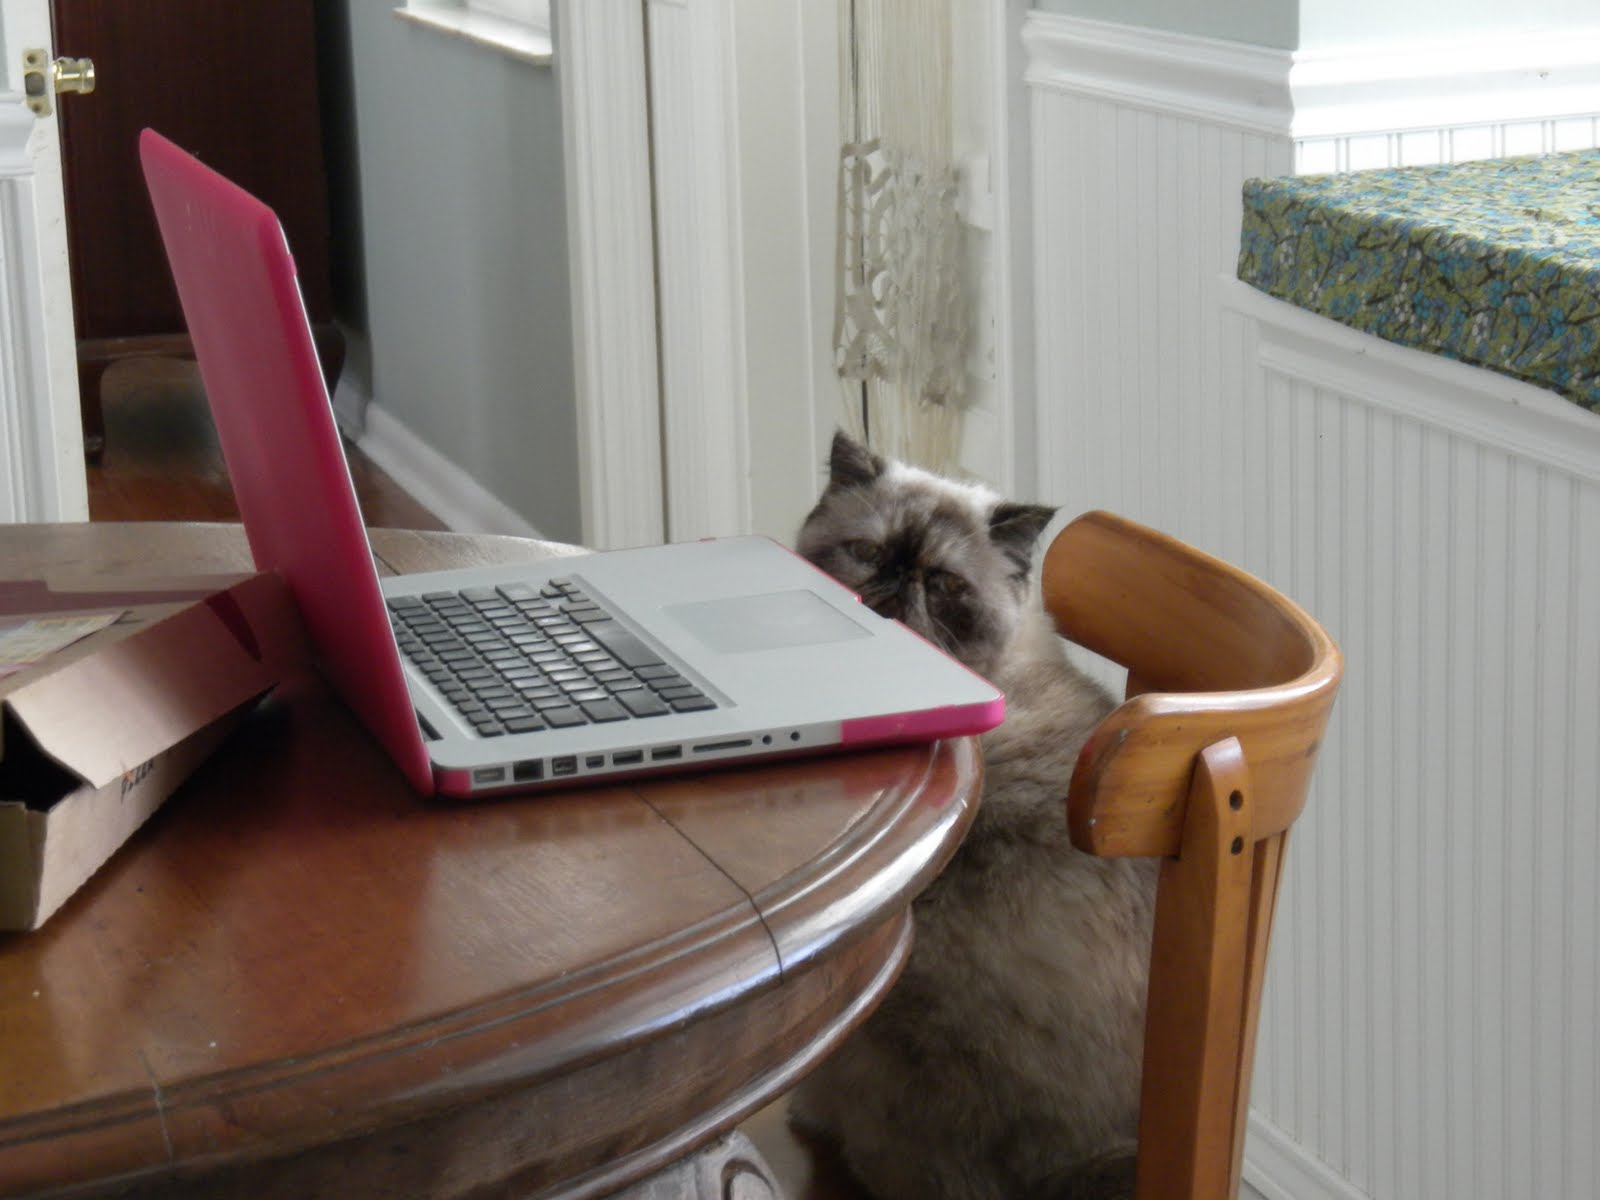
Here is Shu-Shu sneaking time on my computer.  I'll bet she is writing to a friend complaining that I never let her have anything!